 gitsilence 的个人博客
Coding...
目录
docker-compose实例运行
docker-compose实例运行

Docker-compose lnmp实例测试
安装docker-compose
-L:有的网址是自动跳转的,可以自动跳转到新的网址
-o:保存成文件
curl -L https://github.com/docker/compose/releases/download/1.27.4/docker-compose-Linux-x86_64 -O /usr/local/bin/docker-compose
将文件下载,保存到/usr/local/bin目录下,并命名为docker-compose
然后授予该文件 执行权限
chmod +x /usr/local/bin/docker-compose
就可以使用docker-compose命令了。
docker-compose --version
docker -compose 常用命令
docker-compose -h                           # 查看帮助

docker-compose up                           # 创建并运行所有容器
docker-compose up -d                        # 创建并后台运行所有容器
docker-compose -f docker-compose.yml up -d  # 指定模板
docker-compose down                         # 停止并删除容器、网络、卷、镜像。

docker-compose logs       # 查看容器输出日志
docker-compose pull       # 拉取依赖镜像
dokcer-compose config     # 检查配置
dokcer-compose config -q  # 检查配置,有问题才有输出

docker-compose restart   # 重启服务
docker-compose start     # 启动服务
docker-compose stop      # 停止服务
前提
- linux环境 - centos
- 安装过了docker
- 安装过了docker-compose
开始
-
首先创建一个目录lnmp_example
cd lnmp_example-
进入这个目录之后,在创建conf目录、html目录
mkdir conf html -
进入conf目录下,创建nginx.conf配置文件
-
进入html创建index.html、test.php、mysql.php
-
nginx.conf
user nginx; worker_processes 1; error_log /var/log/nginx/error.log warn; pid /var/run/nginx.pid; events { worker_connections 1024; } http { include /etc/nginx/mime.types; default_type application/octet-stream; log_format main '$remote_addr - $remote_user [$time_local] "$request" ' '$status $body_bytes_sent "$http_referer" ' '"$http_user_agent" "$http_x_forwarded_for"'; access_log /var/log/nginx/access.log main; sendfile on; #tcp_nopush on; keepalive_timeout 65; #gzip on; # include /etc/nginx/conf.d/*.conf; server { listen 80; server_name localhost; location / { root html; index index.html; } location ~\.php$ { fastcgi_pass php:9000; fastcgi_index index.php; fastcgi_param SCRIPT_FILENAME /var/www/html/$fastcgi_script_name; include fastcgi_params; } location /images/ { root /usr/share/nginx/html/; # 文件列出来 autoindex on; } location /www/ { root /usr/share/nginx/html/; } #error_page 404 /404.html; # redirect server error pages to the static page /50x.html # error_page 500 502 503 504 /50x.html; location = /50x.html { root /usr/share/nginx/html; } } } -
index.html
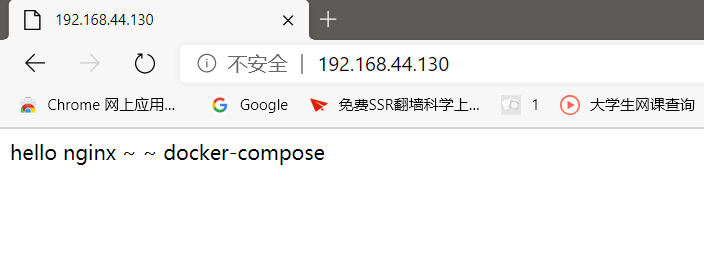
hello nginx ~ ~ docker-compose -
test.php
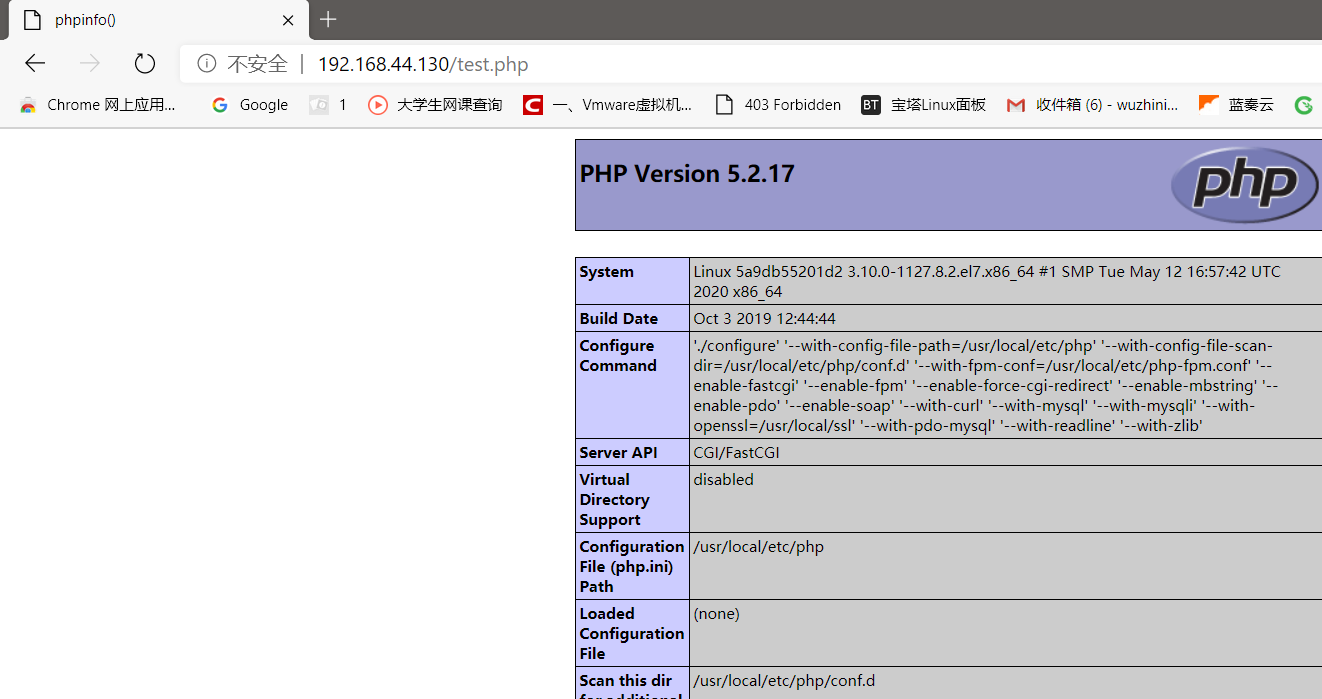
<?php phpinfo(); ?> -
mysql.php
<?php

$servername = "172.18.0.3";
$username = "root";
$password = "123456";

// 创建连接
$conn = mysqli_connect($servername, $username, $password);

// 检测连接
if (!$conn) {
    die("Connection failed: " . mysqli_connect_error());
}
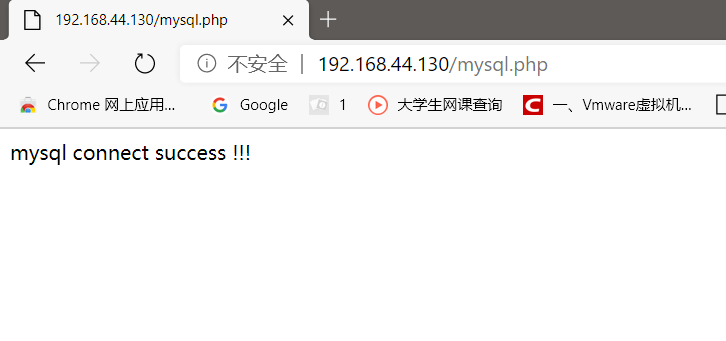
echo "mysql connect success !!!";
?>
-
-
编写docker-compose.yml文件
是在lnmp_example目录下编写该文件,并且名字最好不要变。
docker-compose.yml
version: "3" services: nginx: image: nginx:alpine ports: - 80:80 volumes: - /root/docker-compose/lnmp_example/html:/etc/nginx/html - /root/docker-compose/lnmp_example/conf/nginx.conf:/etc/nginx/nginx.conf php: image: devilbox/php-fpm:5.2-work-0.89 volumes: - /root/docker-compose/lnmp_example/html:/var/www/html mysql: ports: - 3306:3306 image: mysql:5.6 environment: - MYSQL_ROOT_PASSWORD=123456 -
执行命令
# 创建并后台运行所有容器 docker-compose up -d -
进入mysql 容器内,查看一下ip地址
docker exec -it lnmp_example_mysql_1 bash然后mysql.php 就填那个ip地址,我这里是 172.18.0.3
这里 写一下 关闭所有的容器 的命令,记忆一下。
# 列出 所有 正在运行的 容器
[root@localhost conf]# docker ps -q
77491d8dbf23
0849785a3400
5a9db55201d2
# 关闭 这些 id的容器。
[root@localhost conf]# docker stop $(docker ps -q)
77491d8dbf23
0849785a3400
5a9db55201d2

最终成功结果


